
All details add up when making themed decorations, so we show you what to do with your napkins for Halloween.
With few materials and colorful napkins, you will learn to make – quickly and easily – the best decorations to dress your house for the most terrifying day of the year.
Here you’ll find, step by step, how to create napkin rings, ghosts, ideas to fold napkins in the shape of bats, among other crafts.
The idea is to give you a boost to make the most of napkins for Halloween.
Napkin bat

Materials
- Black Square Napkins
Step by step
Fold the napkin to make a triangle.
The tip of the triangle should be pointed at you. Take the two points and make a new bend towards you. This time, about two inches.
The napkin will be shaped like a paper boat. With a small triangle that will still point to you.
Fold one end over the piece. It should be on top of the triangle that points to you.
This way you’ll be making one of the wings of the bat. Return the wing to its position, but leave a two-centimeter fold.
Repeat the procedure with the other end of the napkin.
Once the second fold is made, you’ll have the bat armed.
To make the image stronger, use your index finger to make a small bend in what would be the bat’s head.
We leave you a video so that you can see, graphically, what we have explained to you.
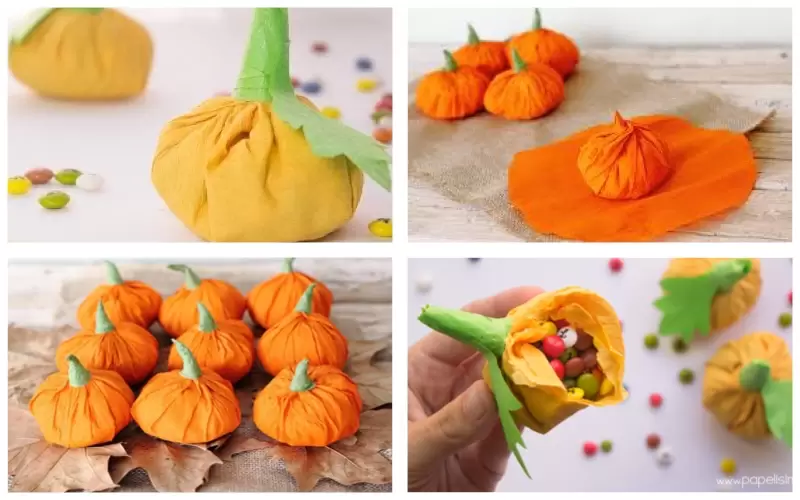
Stuffed Napkin Pumpkins
Materials
- Orange napkins
- Green yarn
- Chocolate dragées
- Black cardboard
- Silicone gun
- Transparent silicone rods
- Scissors
Step by step
Take a napkin and place it in the center of your hand.
Close your hand a little bit to make a hole.
Put a handful of chocolate dagrees, type M&M’S, in the hole.
Close the napkin, being careful not to tear it. With the yarn, tie a knot so that it doesn’t open.
All the napkin that is left over, above the worsted knot, must be wrinkled, shaping it from the stem of the pumpkin.
When you feel satisfied with the shape of the stem, use the worsted to give it the final finish.
Give it as many turns as necessary to cover the entire napkin stem with the green yarn.
If the stem is too big and you feel you must use a lot of material, cut it out a little with the scissors.
On the black cardboard, cut out the eyes and mouth of a typical Halloween pumpkin. It should be proportional to the chocolate dagger pumpkin. This will make the effect more realistic.
Heat the silicone gun and when it is at the ideal temperature, stick the pieces of cardboard on your pumpkin.
Arrange each of the Halloween napkins on your table, besides helping with the decoration, it will be a great gift for your guests.
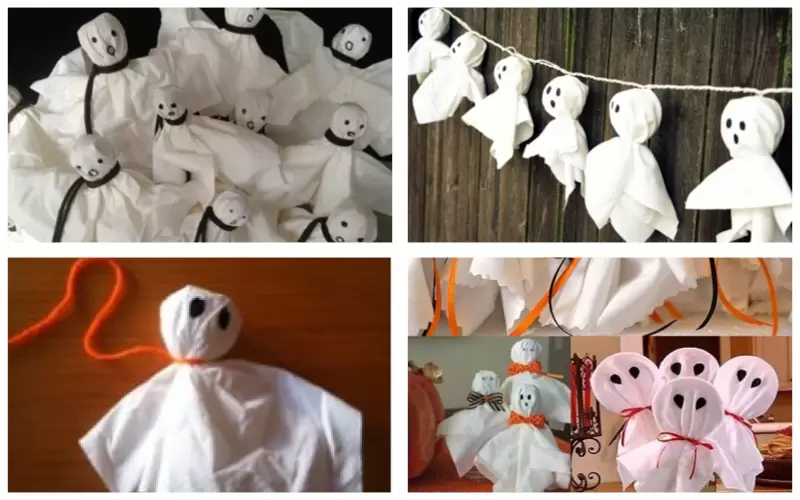
Ghost of a Napkin for Halloween
Materials
- White napkins
- Round lollipops
- White yarn
- Black cardboard
- Silicone gun
- Transparent silicone bars
- Scissors
Step by step
Take a lollipop and place it in the center of a white napkin.
Cover the whole lollipop with the napkin. Make a tie with the yarn. That way you make sure the napkin stays in place.
Cut out ghost eyes and mouths from black cardboard.
Stick them with the silicone gun on the white napkin that covers the lollipop.
With the help of the scissors, cut the napkin out of the ghost’s body in a sharp way so that it looks more like a ghost from beyond.
Stick the lollipops into a pumpkin, to give more drama to the decoration.
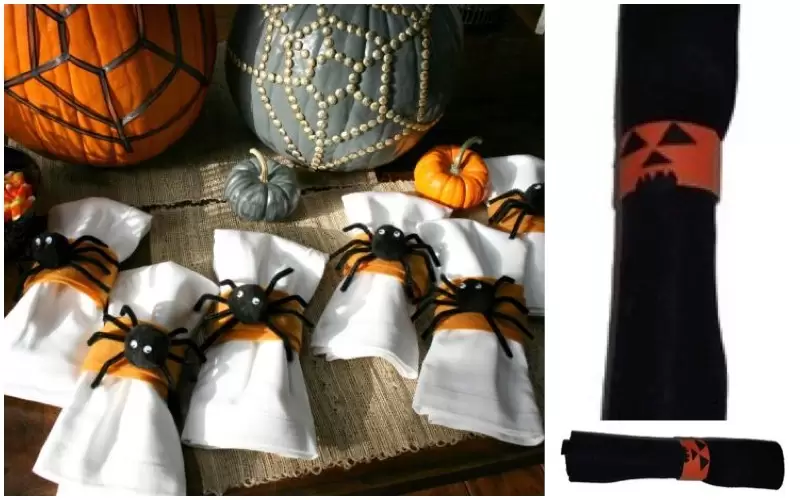
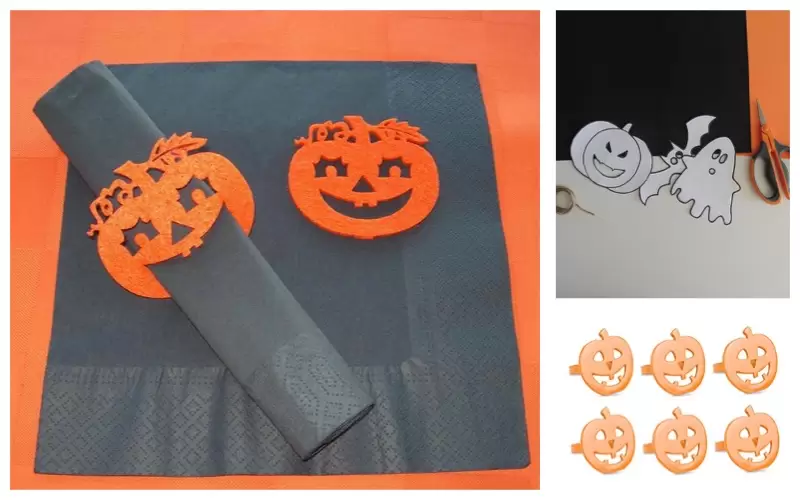
Napkin rings for Halloween
Cardboard rings
Materials
- Black napkins
- Black cardboard
- Orange cardboard
- Stapler
- Silicone gun
- Transparent silicone rods
Step by step
Cut 5 cm strips with the orange cardboard.
Roll up two black napkins as if it were a diploma.
Place a piece of cardboard tape in the center, without pressing it completely.
Using the stapler, secure the cardboard ring so that it does not open. Do not staple it to the napkin. The ring must come off so that it can be used.
Now, cut out Halloween pumpkin eyes and mouths from the black cardboard.
Stick them onto the orange cardboard ring with hot silicone.
When finished, place each of the napkins on the plates on your table.
Preferably, they should be orange plates so that the napkin stands out.
Eva rubber rings
Materials
- Black napkins
- Eva rubber or orange foamy
- Pencil
- Cutter or blade
- Scissors
Step by step
Draw a pumpkin, about 8 cm long, on the eva rubber.
The mouth of the pumpkin should be large, so that the napkin passes through it.
With the cutter, cut out the inside of the pumpkin. The outside can be cut more easily with normal scissors.
Roll up two black napkins and place them on the eva rubber support ring.
It will be a detail that will stand out on your Halloween table.
Paper pumpkins
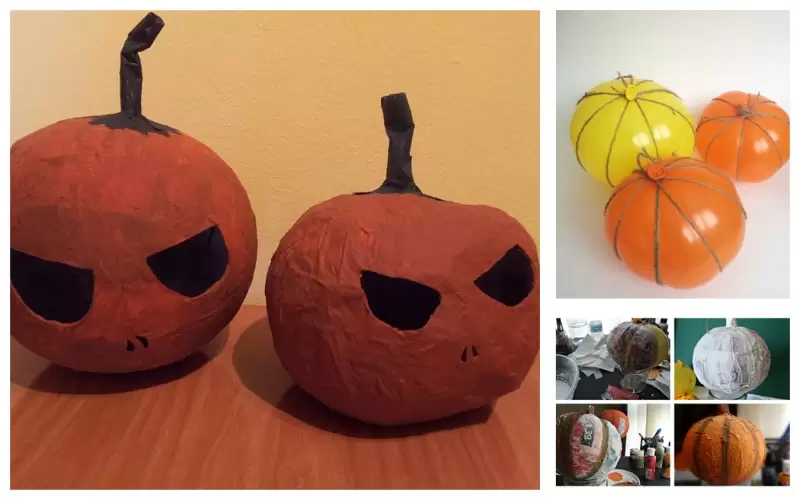
Materials
- White balloon
- Orange napkins
- Orange knitting wool
- White glue
- Black cardboard
- Thick brush
- Silicone gun
- Transparent silicone rods
Step by step
Inflate the balloon to the size you want your pumpkin to be. You can make several of different sizes for a more striking decoration.
Wrap the wool over the balloon, so that it has the characteristic shape of the pumpkin.
In a container, add one measure of white glue and one measure of water.
Place a napkin on the balloon and with the brush, apply the mixture of white glue with water that we just made.
Repeat this operation until you cover the whole body of the balloon.
Let it dry completely before continuing with the craft.
After drying, depending on your taste, you will determine if a second layer of napkins is necessary or if you are happy with the result obtained.
On the black cardboard, cut out pumpkin eyes and mouth. With the silicone gun, glue the face in place.
You’ll get an amazing pumpkin at a very low cost.
The end result will be very light. Therefore, it is ideal for use as an element of interior decoration.
If you want to use it outdoors, you must paste some element that generates the necessary weight so that your pumpkins do not fly away.
Mummy Glasses
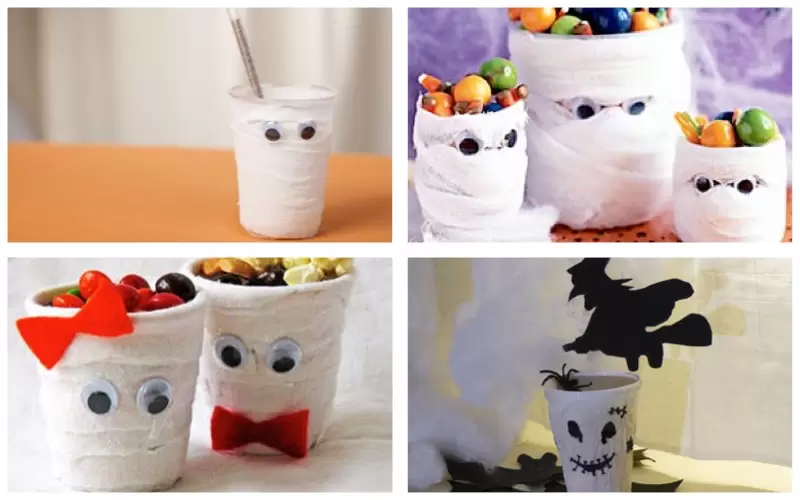
Materials
- Plastic cups
- White napkins
- Moving eyes
- White glue
- Fine brush
Step by step
This is a special craft to make container cups for napkins, sweets and dry food. It is not recommended for serving drinks.
Open the napkin completely. Fold them back into a blindfold.
With some white glue (you could also use plastic tape) fix the napkin to the glass.
Leaving some natural wrinkles on the napkin, roll it up all over the glass.
If necessary, use another napkin to make the mummy.
When you get the desired result, use some white glue to fix the crazy eyes on the mummy’s body.
Your mummy will be ready to give your Halloween table a scare.
Halloween napkins at your fingertips
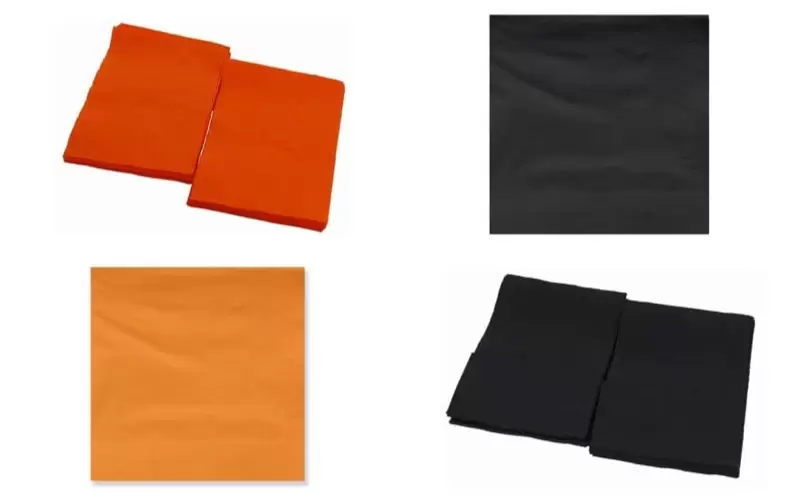
To make crafts with napkins for Halloween you need a little patience and a lot of imagination.
Besides, you need one of the main materials: colorful napkins.
In the Monouso online shop, you will find an assortment of paper napkins in different sizes and thicknesses.
We invite you to stop by our store and buy the napkins you need so that your crafts have the quality you expect.
We make the delivery service to the address of your preference. Free shipping for orders over 59 ?.