
Origami is a highly complex art, well appreciated around the world for its beauty and simplicity. Believe it or not, this is the one that can help you during parties and children’s celebrations. How? Simple: with paper cups.
Remember when you were a kid there was always someone who impressed you with one of these? Fortunately, you don’t need to be an expert in origami, as long as you have the proper instructions.
Would you like to make your paper cup where and when you want it? You think you’re not so good with your hands and crafts aren’t your thing? Don’t worry, at Monouso, we’ll give you a step-by-step guide to teach you how to design yours in seconds. We’ll also show you how to customize the ones already made.
Paper cup, step by step
Whether it is to get out of a hurry, maintain hygiene or impress the children, this trick can solve many problems for you.
The biggest advantage of paper water cups is that you don’t need other materials, you just need to know how to assemble them. Now, find out how to assemble yours wherever you are in just a few seconds:
– Take a sheet of paper or cardboard.
– Fold it in half to make a triangle.
– Take one side of the tip of the figure and bring it up to the baseline.
– Return the fold to its original position.
– Now take the corner and bring it to its end. The result will be similar to a rhombus.
– Take the other corner and bring it to its opposite side. You should have a pentagon by now.
– Now all you have to do is fold the upper tabs back.
– Try your paper water glass by pouring some on yourself. It shouldn’t spill a drop.
Customize your paper coffee cup
You can use your paper cup to drink coffee, but the heat from it could wear the material down in moments. So, you could spill the coffee, have an embarrassing time, and even get some burns.
Today’s market has several paper products that are ideal for modification. For that reason, we recommend you to get your own copies and guide you with the following method:
- Get your disposable paper coffee cups at Monouso. Click here to visit our online shop.
- Get the sticker or print of your choice, or print the image you like best on the computer.
- Measure the size of the image to fit the glass and cut it out with scissors.
- Make a small opening in the dividing line of the container to insert the image. If it’s paper, so much the better.
- If it is too closed, you can open it a little with a measuring ruler.
- Put adhesive tape on the ends.
- Feel again to make sure it’s tight.
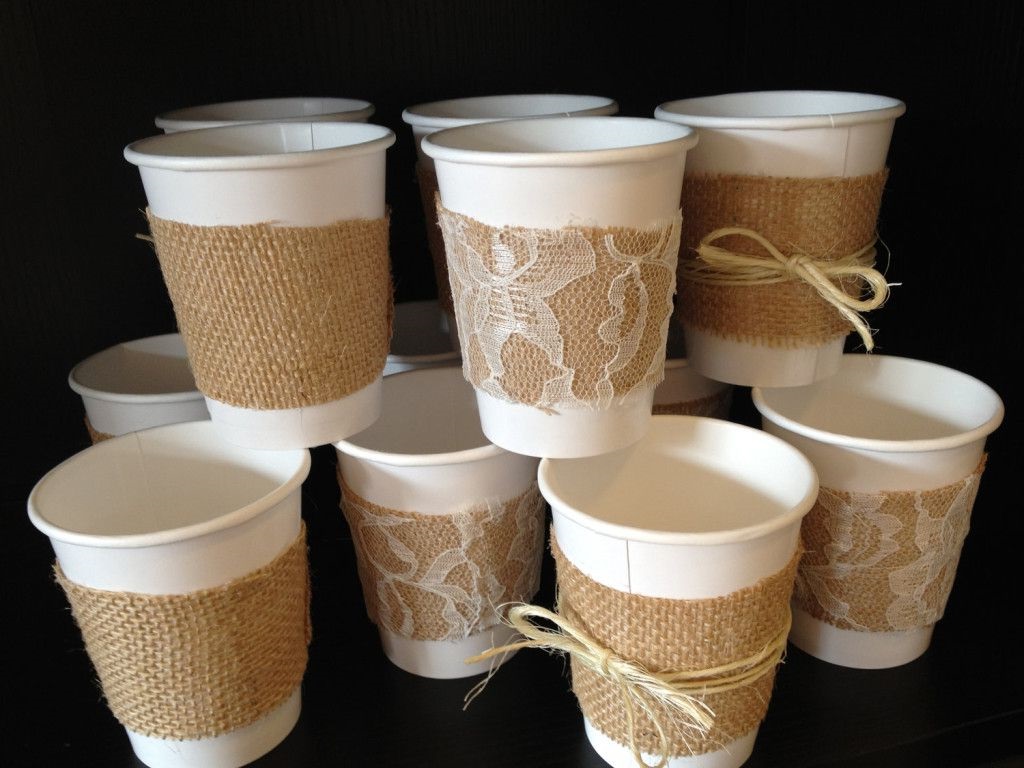
- If you wish, you can let your imagination run wild and decorate with ribbons or brushes instead of photographs.
- Now you can enjoy your coffee in your personalized paper cup.
See? You don’t have to be a great artist to make your own paper cup, or to decorate your coffee cup as you like. All you need is to remember our steps, pay attention to detail and you’ll be able to improvise your containers whenever you want.